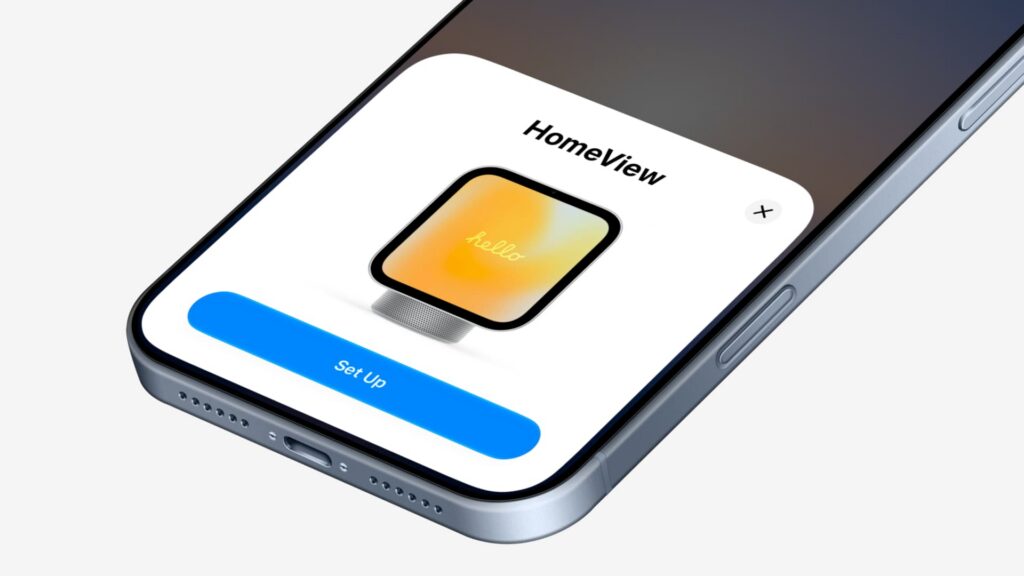
In a setup guide published on November 16, 2026, iDownloadBlog described how to configure Apple HomeView using an iPhone or iPad. The guide covers the desk version; it says the wall version does not include a power adapter or mounts.
Before you start
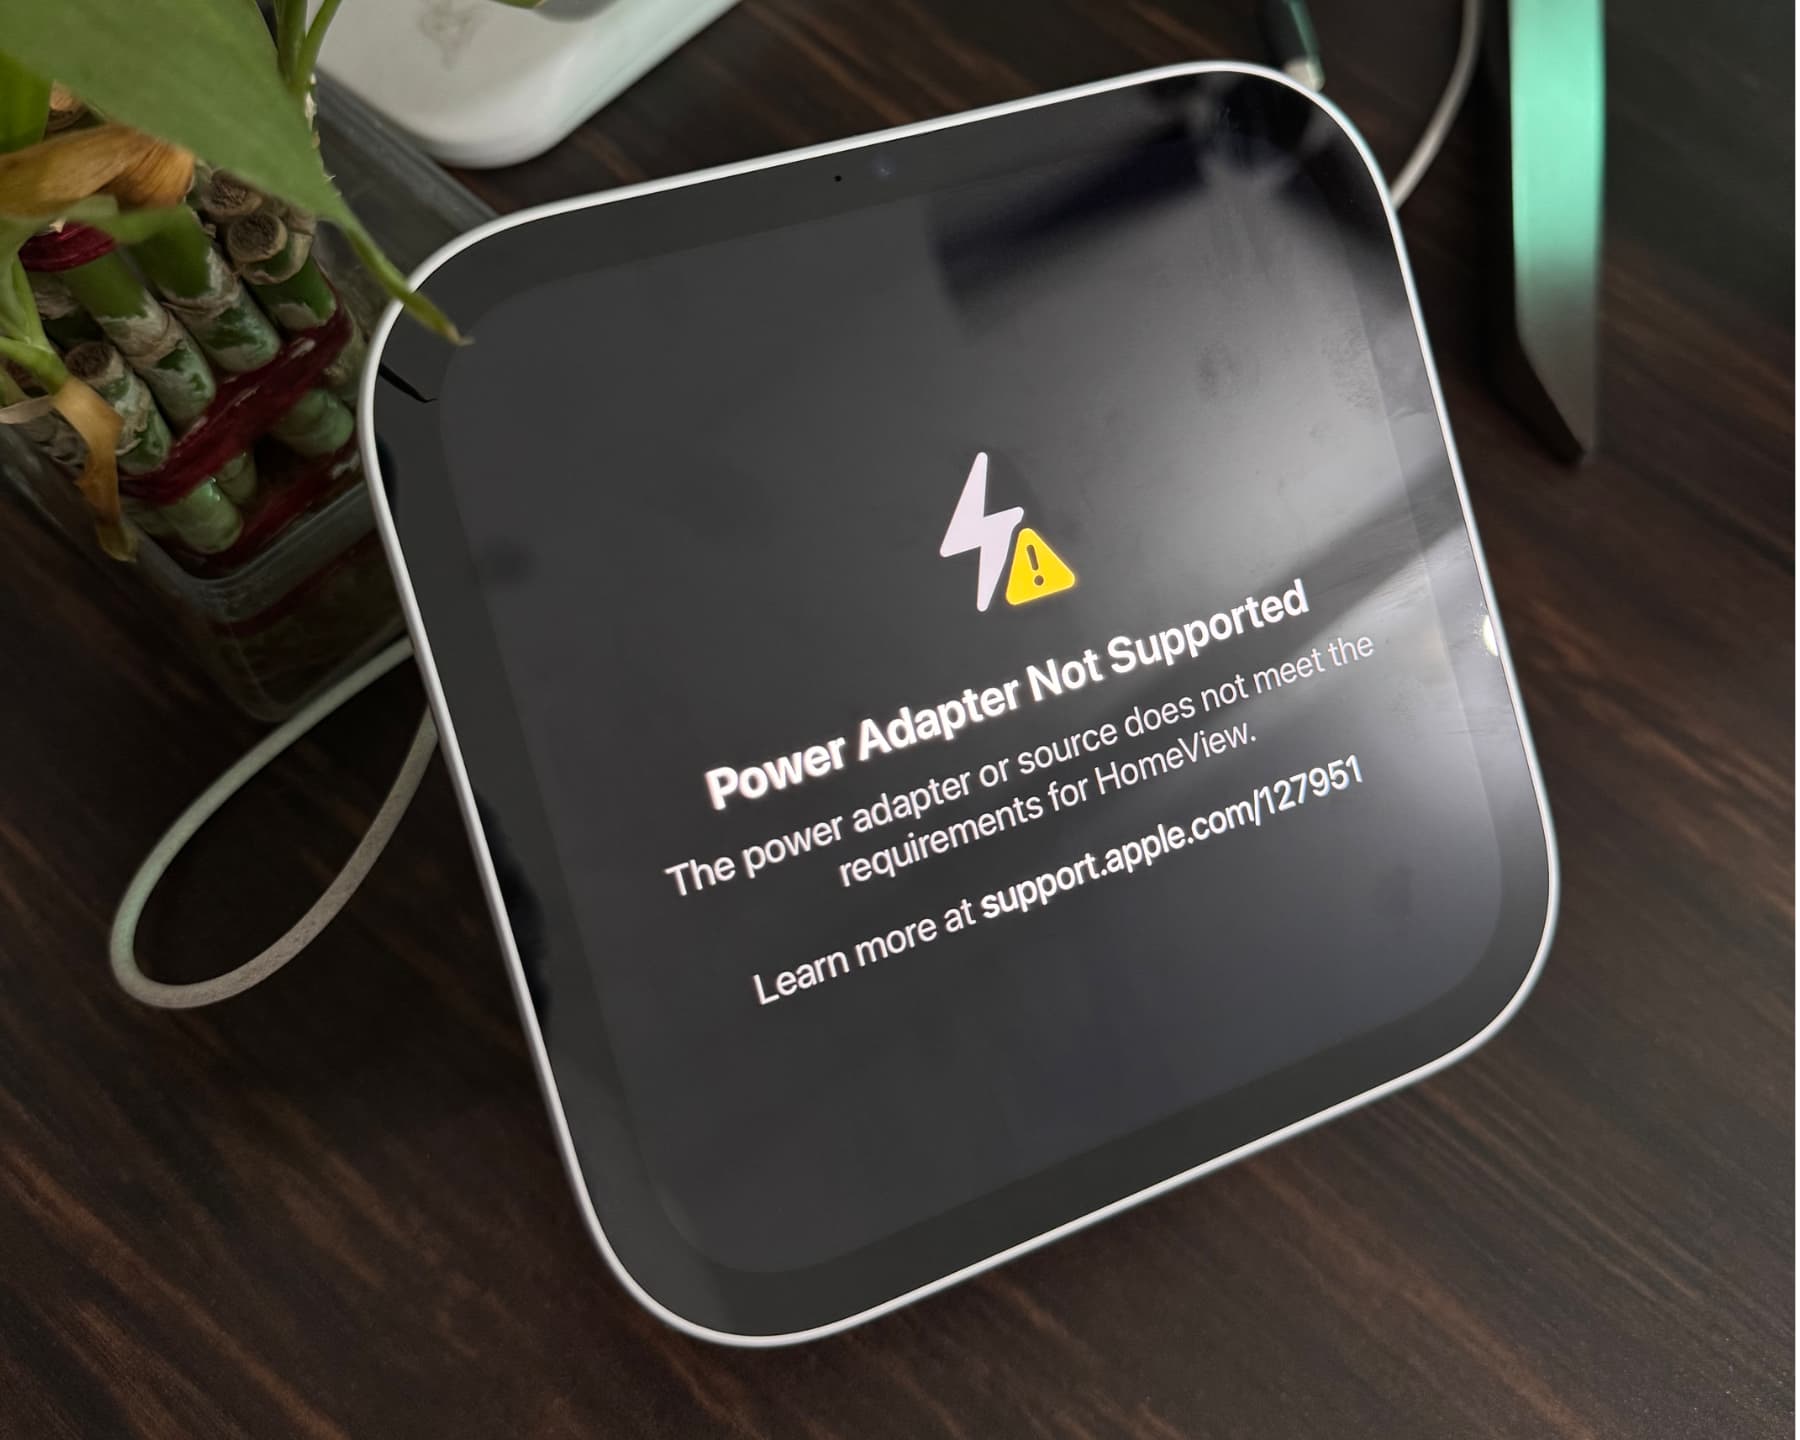
Update your iPhone to the latest available version of iOS 27. At the time of the guide, that was iOS 27.2. Connect the iPhone or iPad to Wi-Fi and turn on Bluetooth. For the desk model, use the supplied 30-watt adapter and USB-C cable to power HomeView; the guide says a 20-watt Apple adapter will not work.
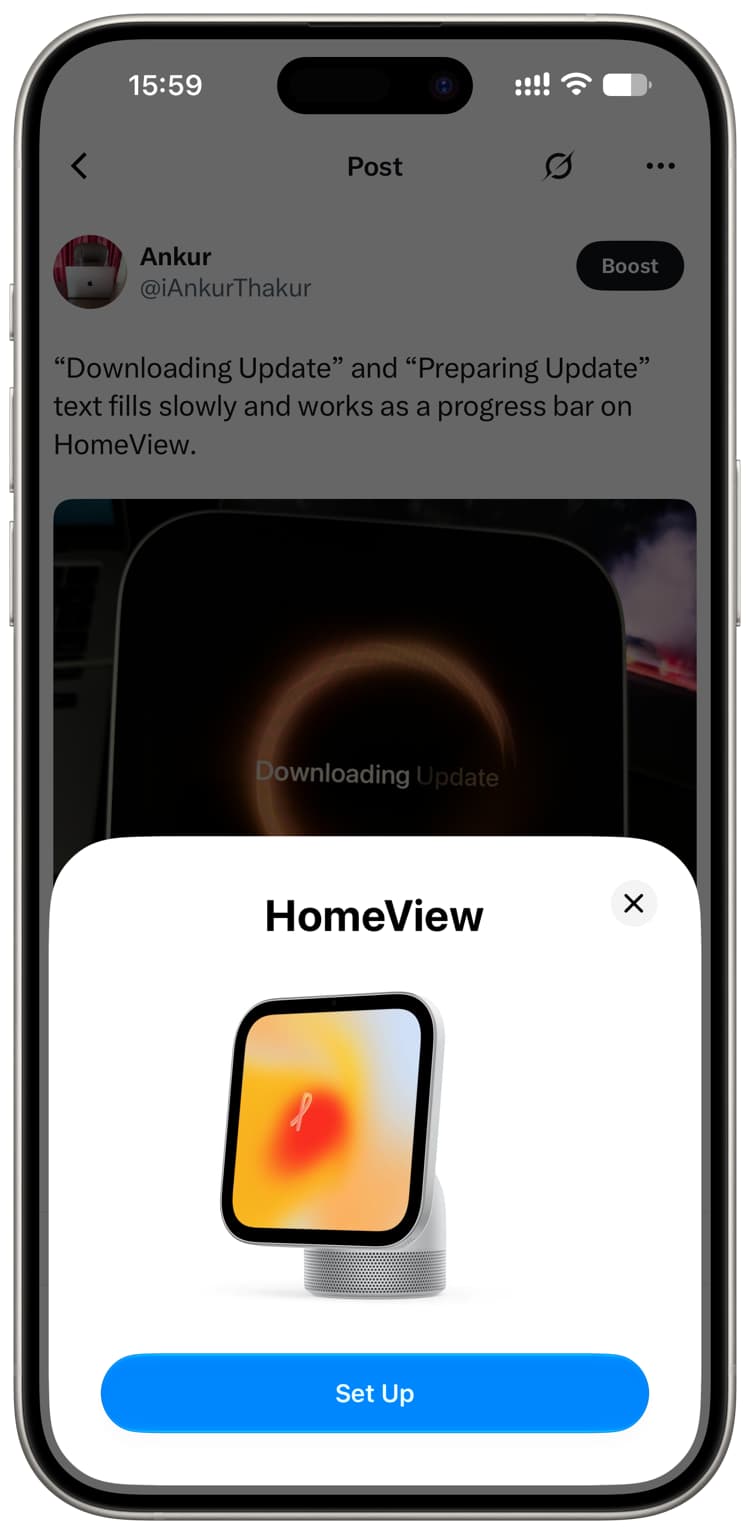
Set up HomeView
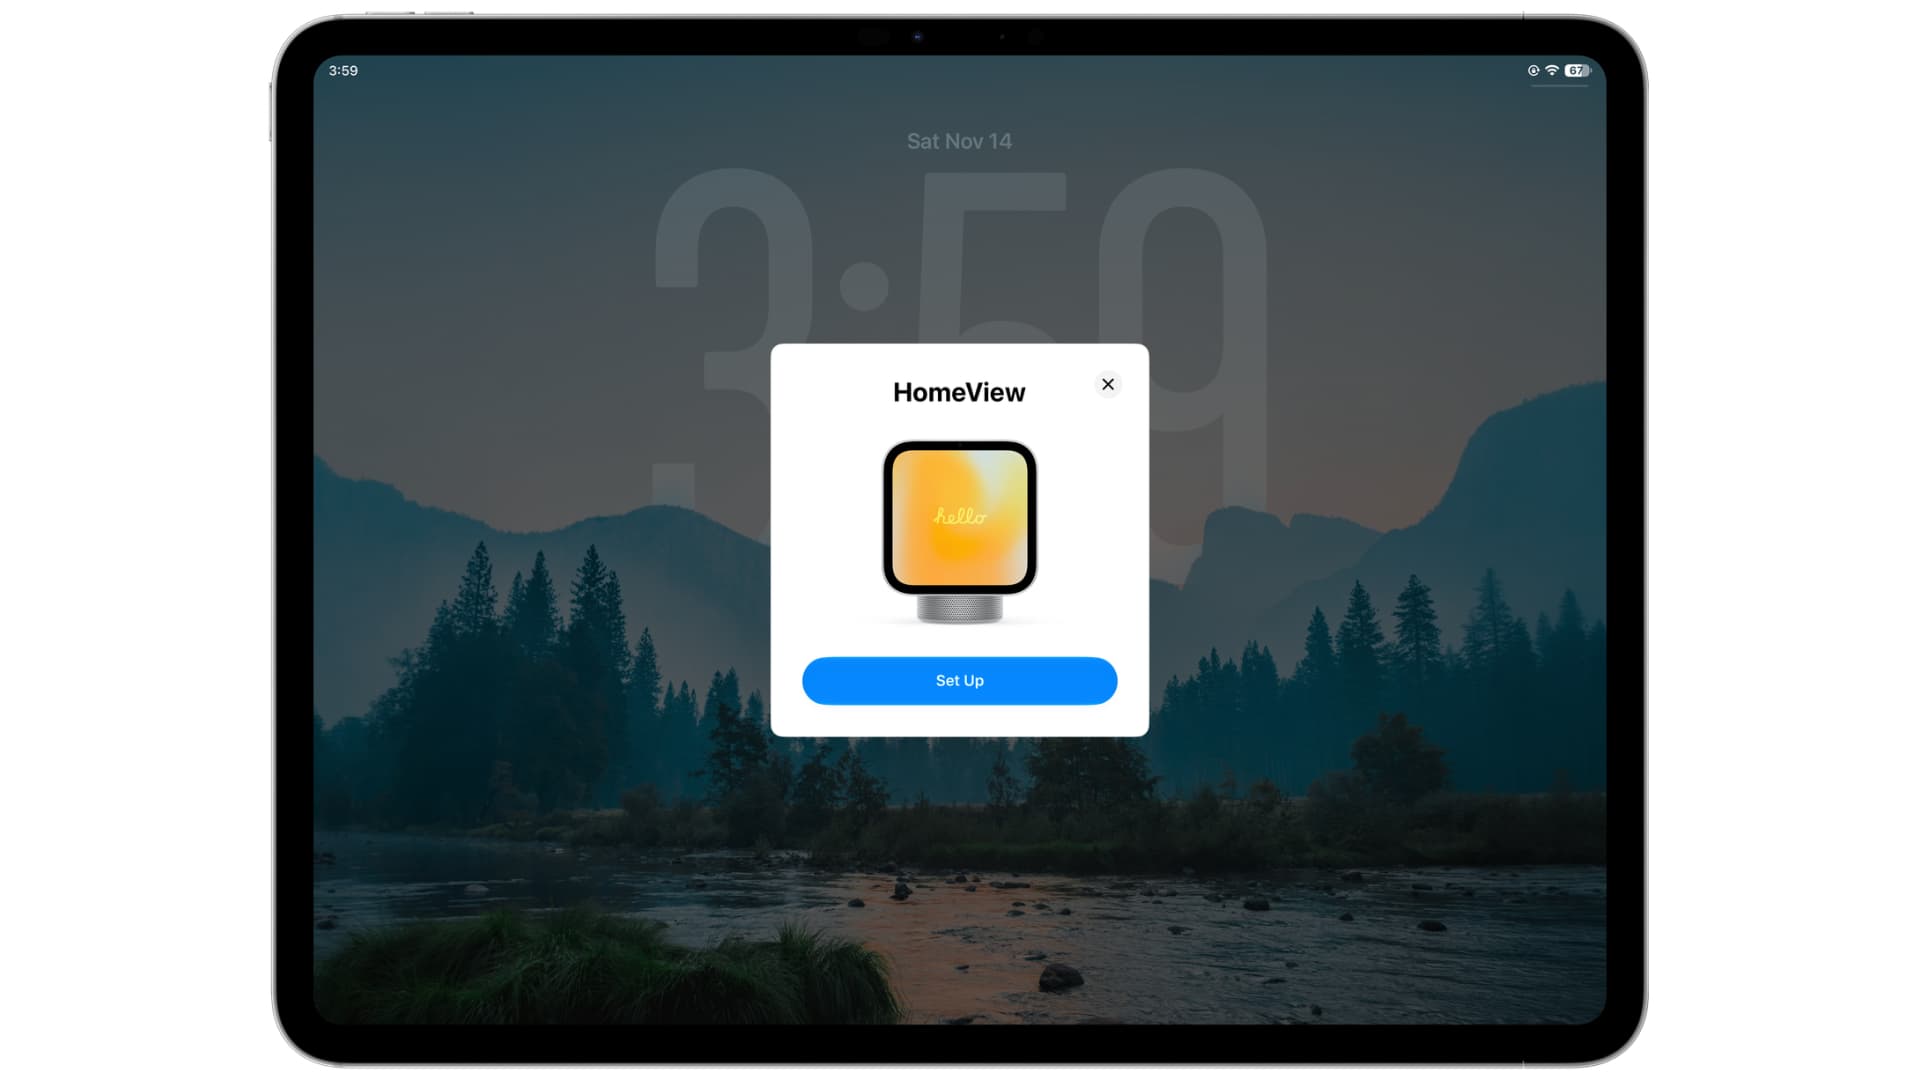
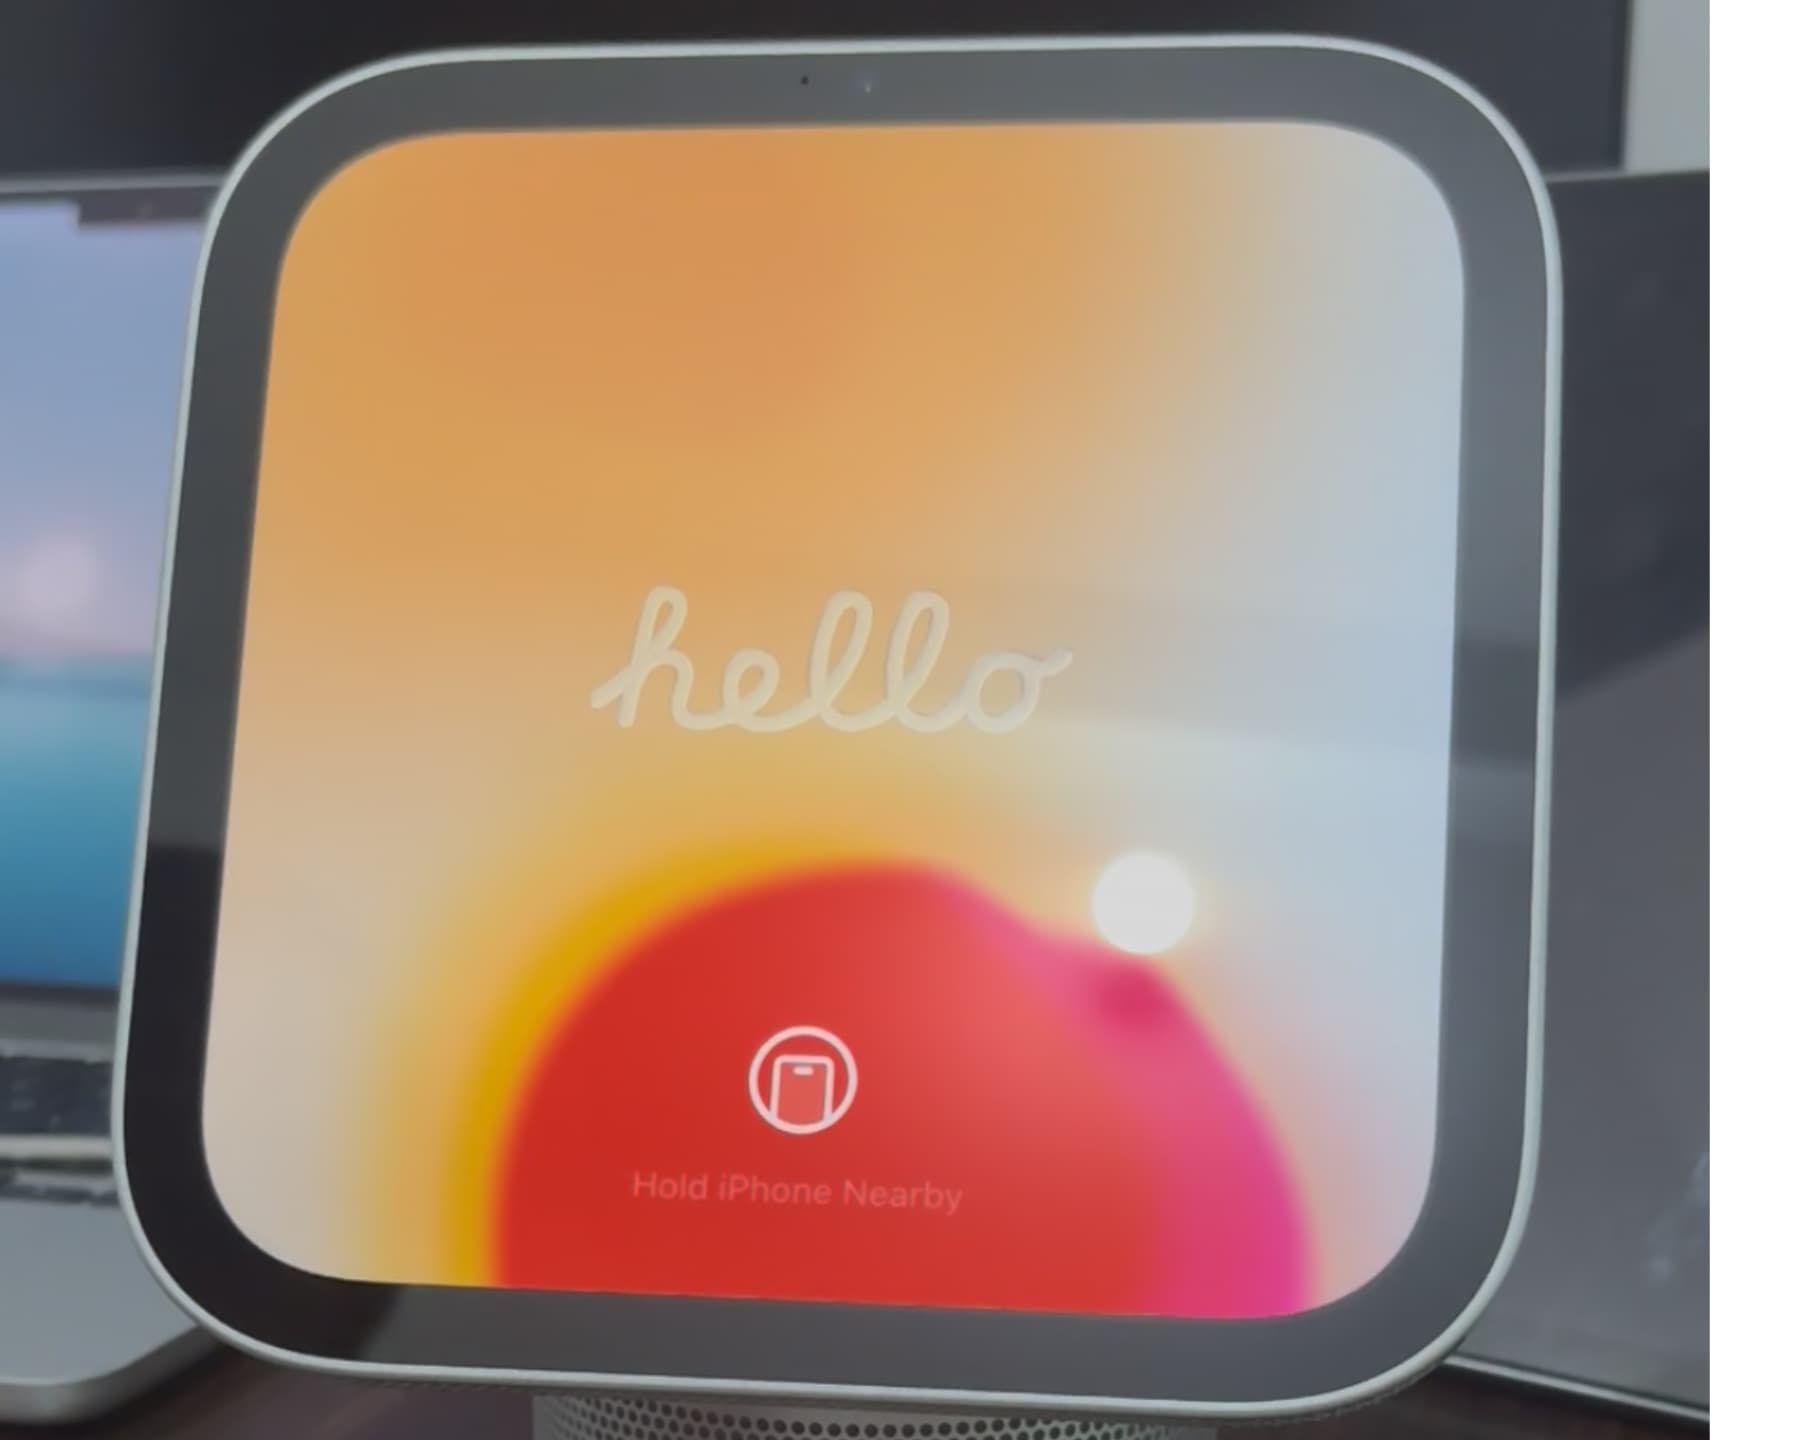
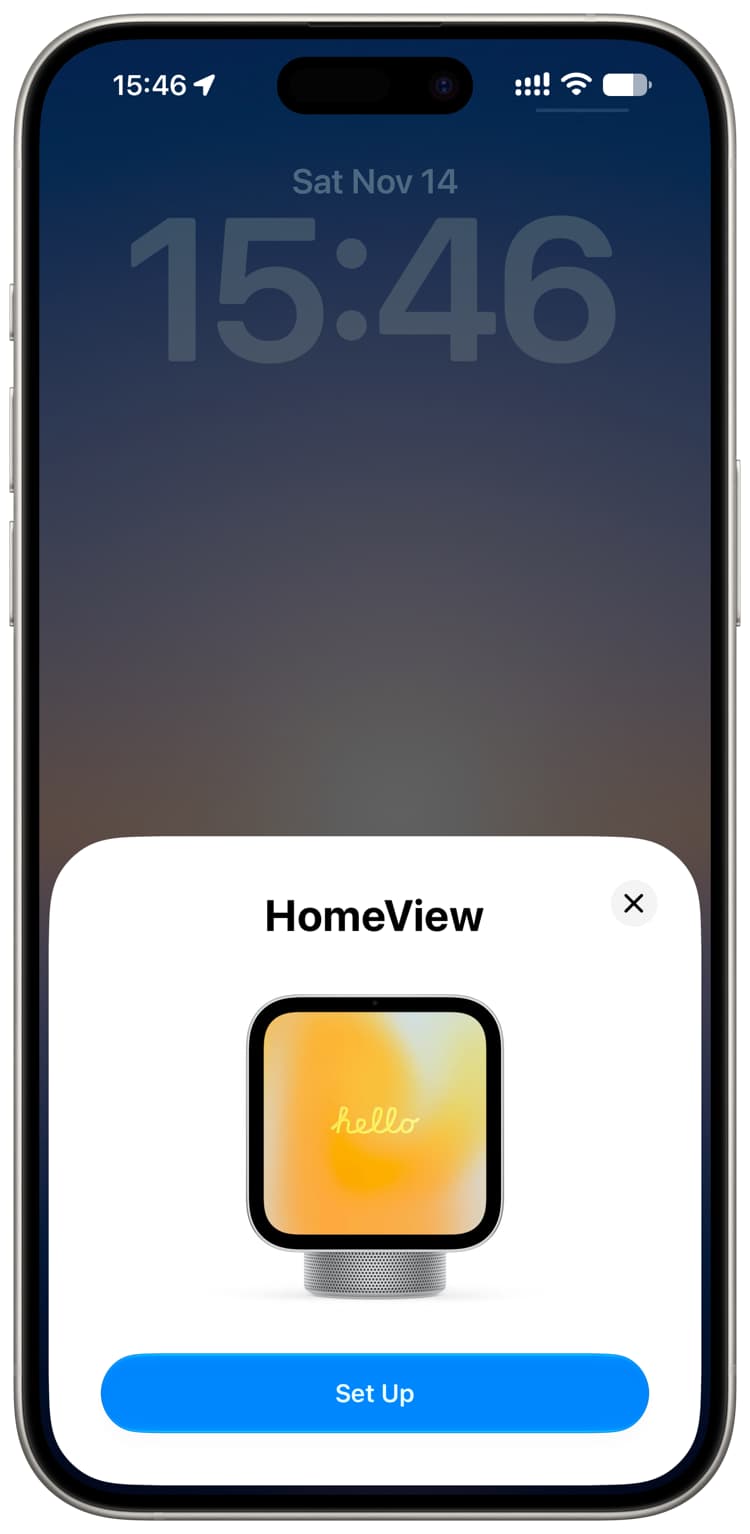
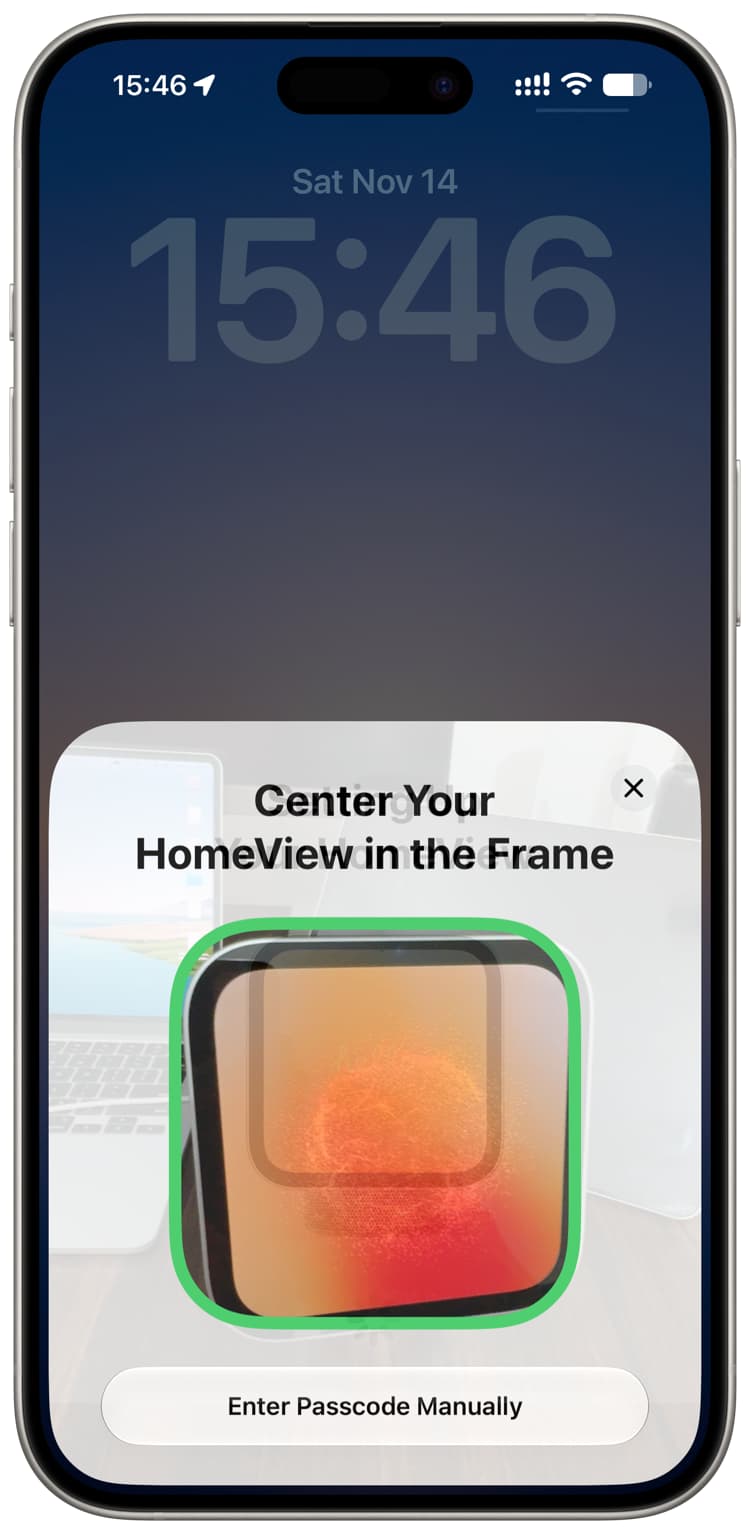
- Wait for the Apple logo and then the “hello” screen on HomeView. Unlock your iPhone or iPad, tap Set Up on the HomeView card, and use its camera prompt to scan the dotted animation on the HomeView display.
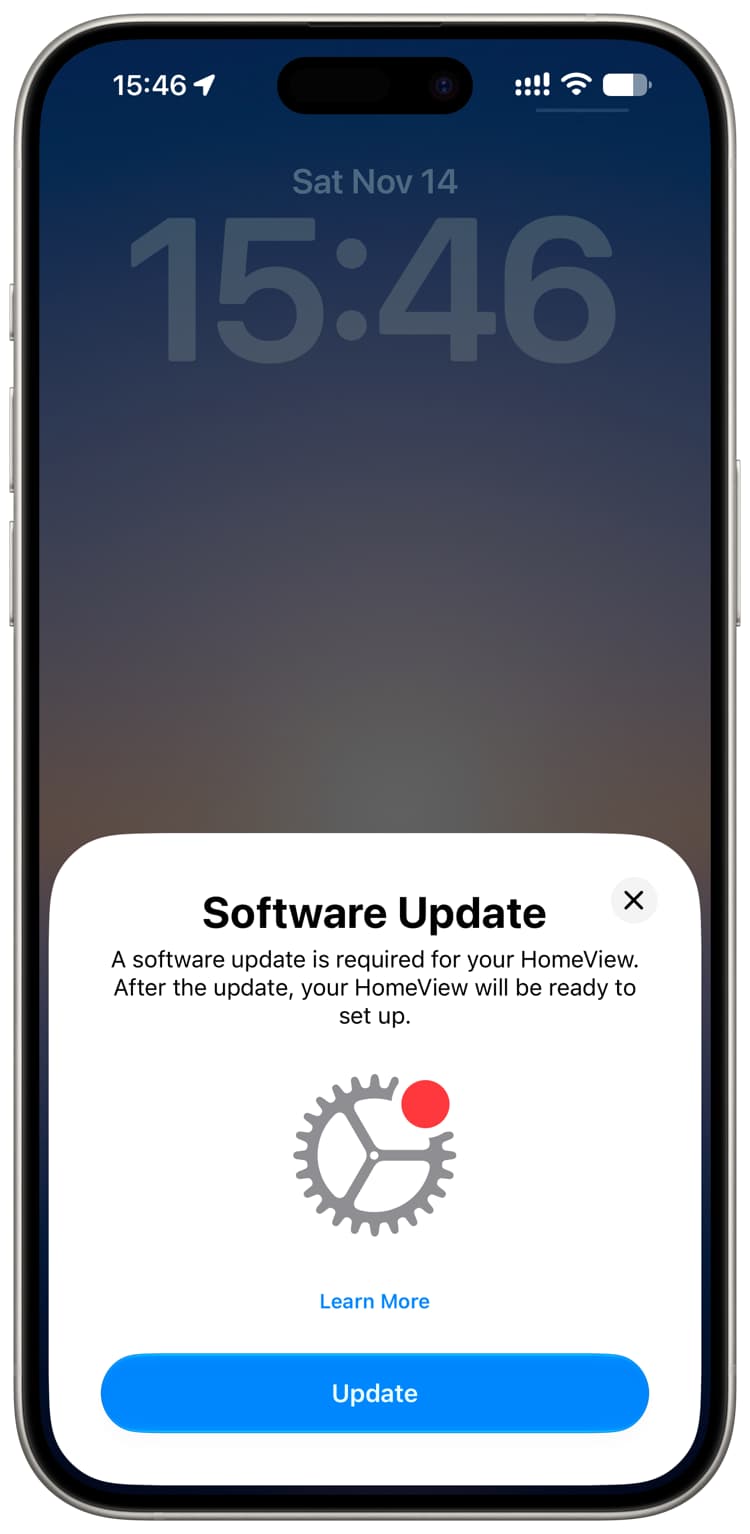
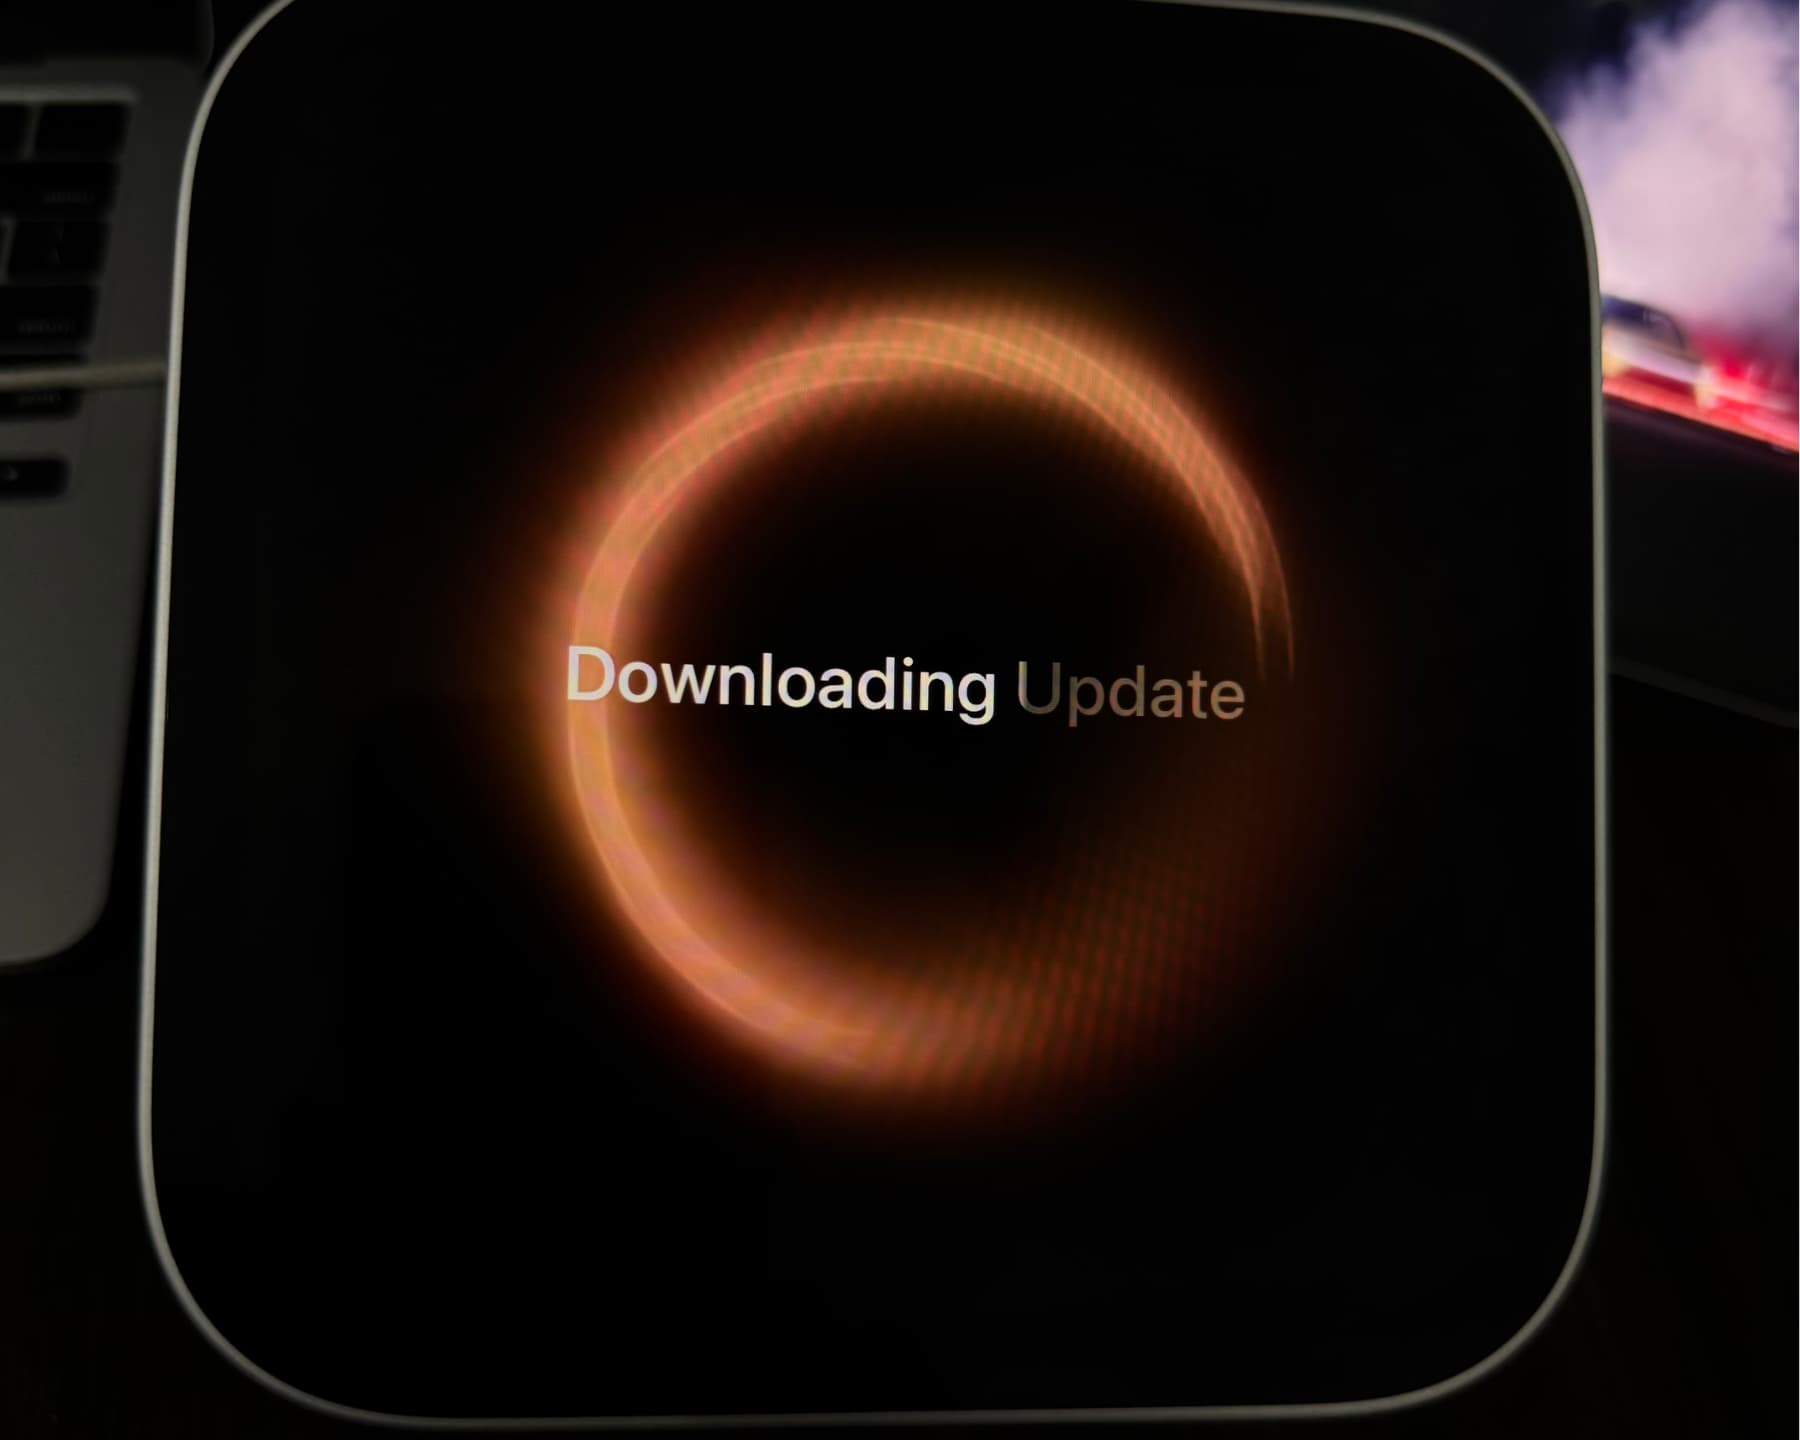
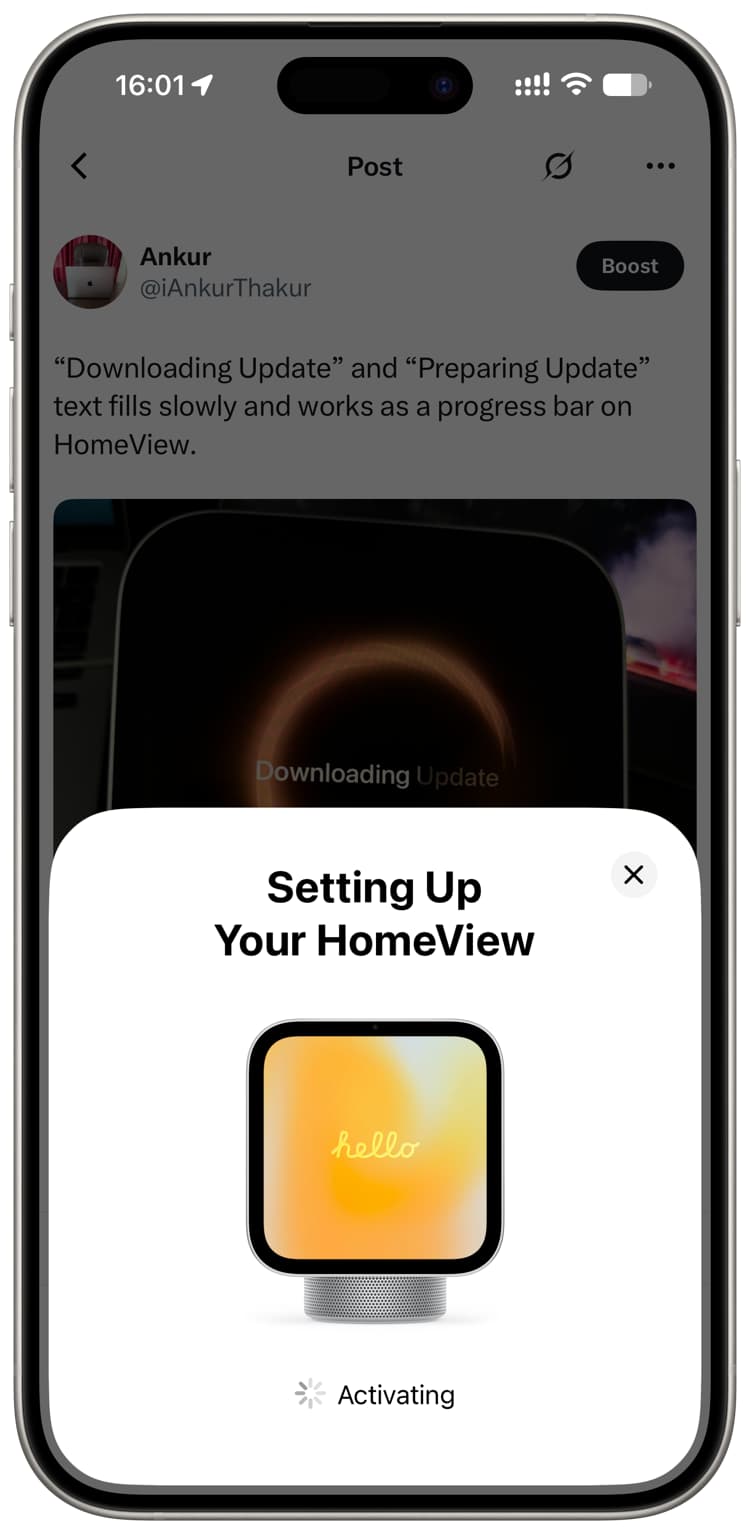
- If prompted, tap Update to install the latest software and Siri version. The guide estimates this takes about 10–15 minutes. After the update, tap Set Up again. If the card does not appear, lock and unlock your iPhone or iPad.
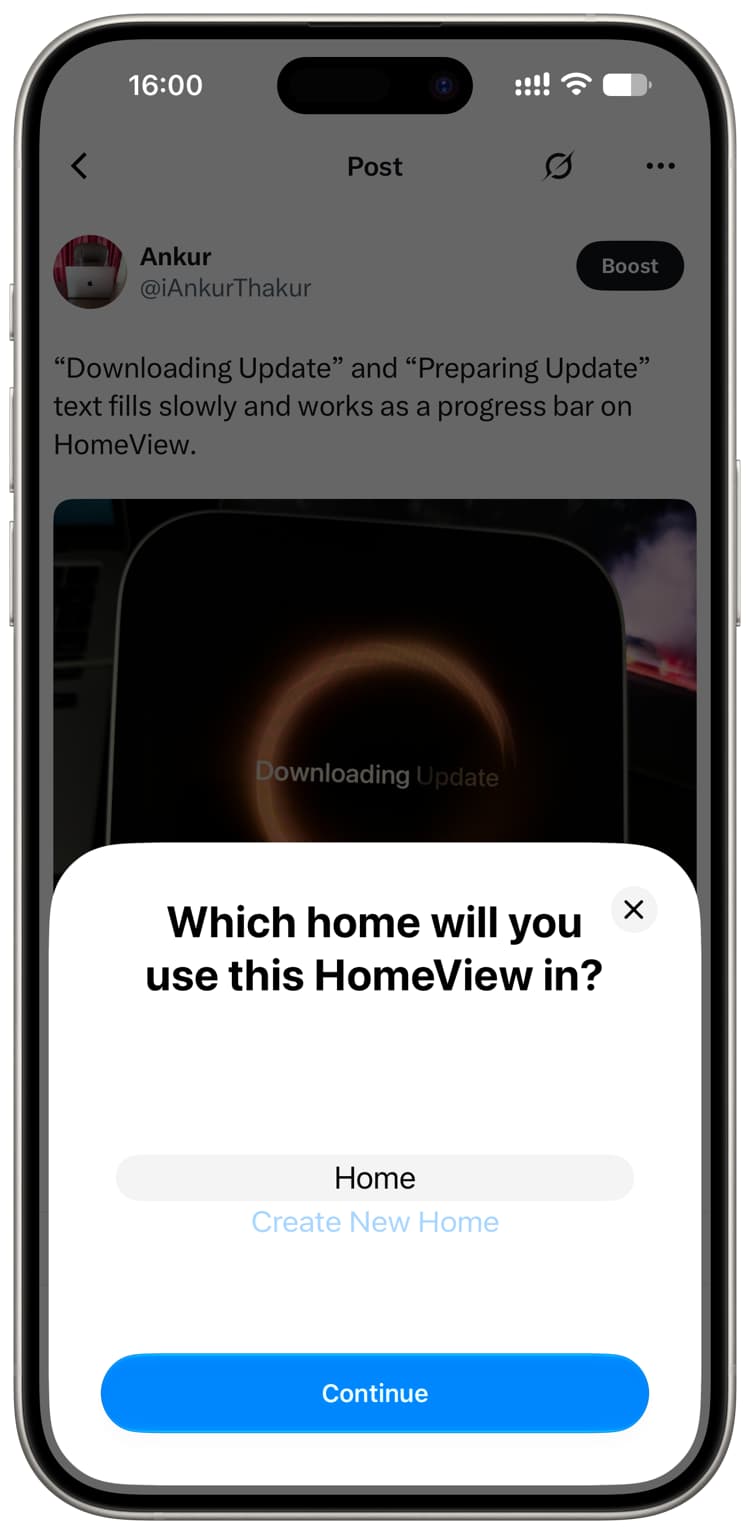
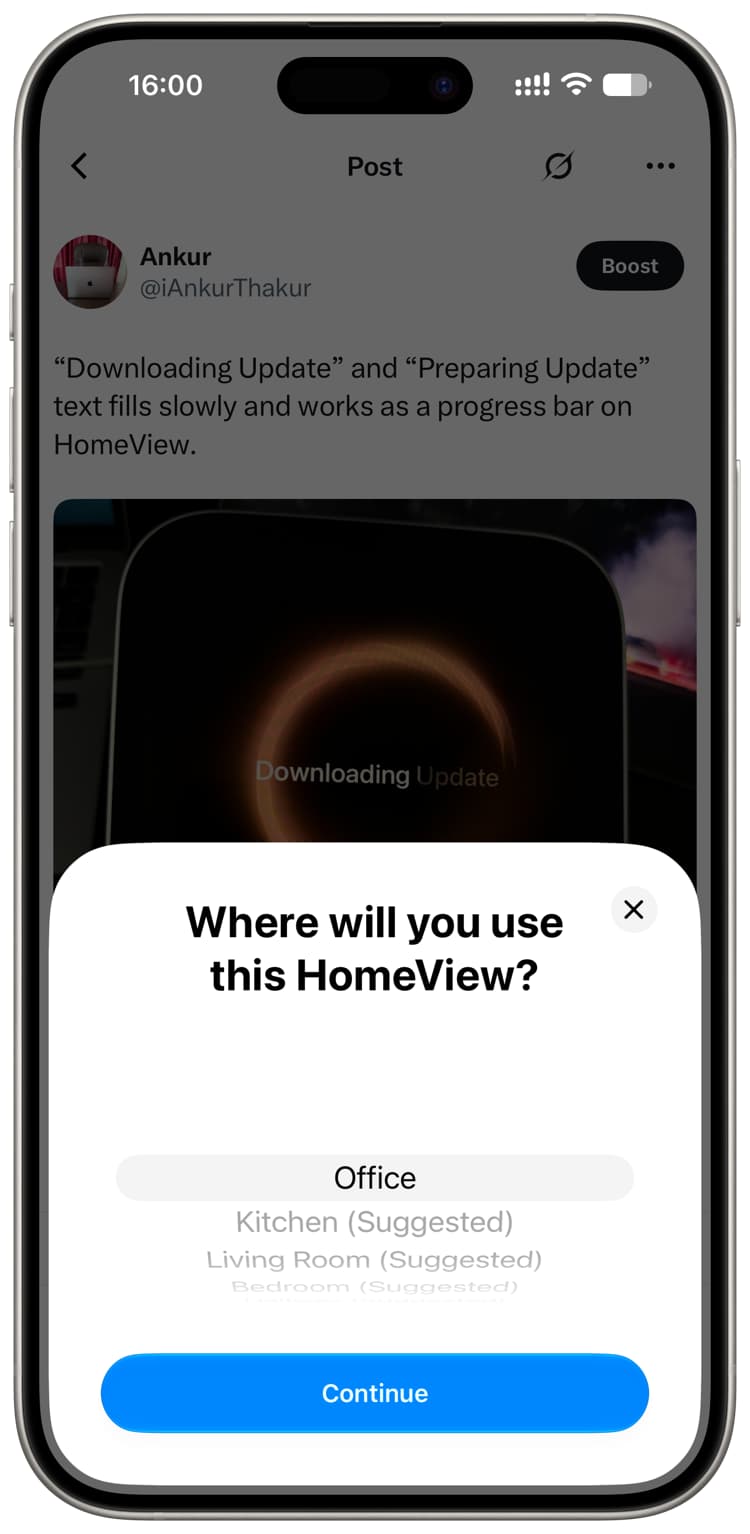
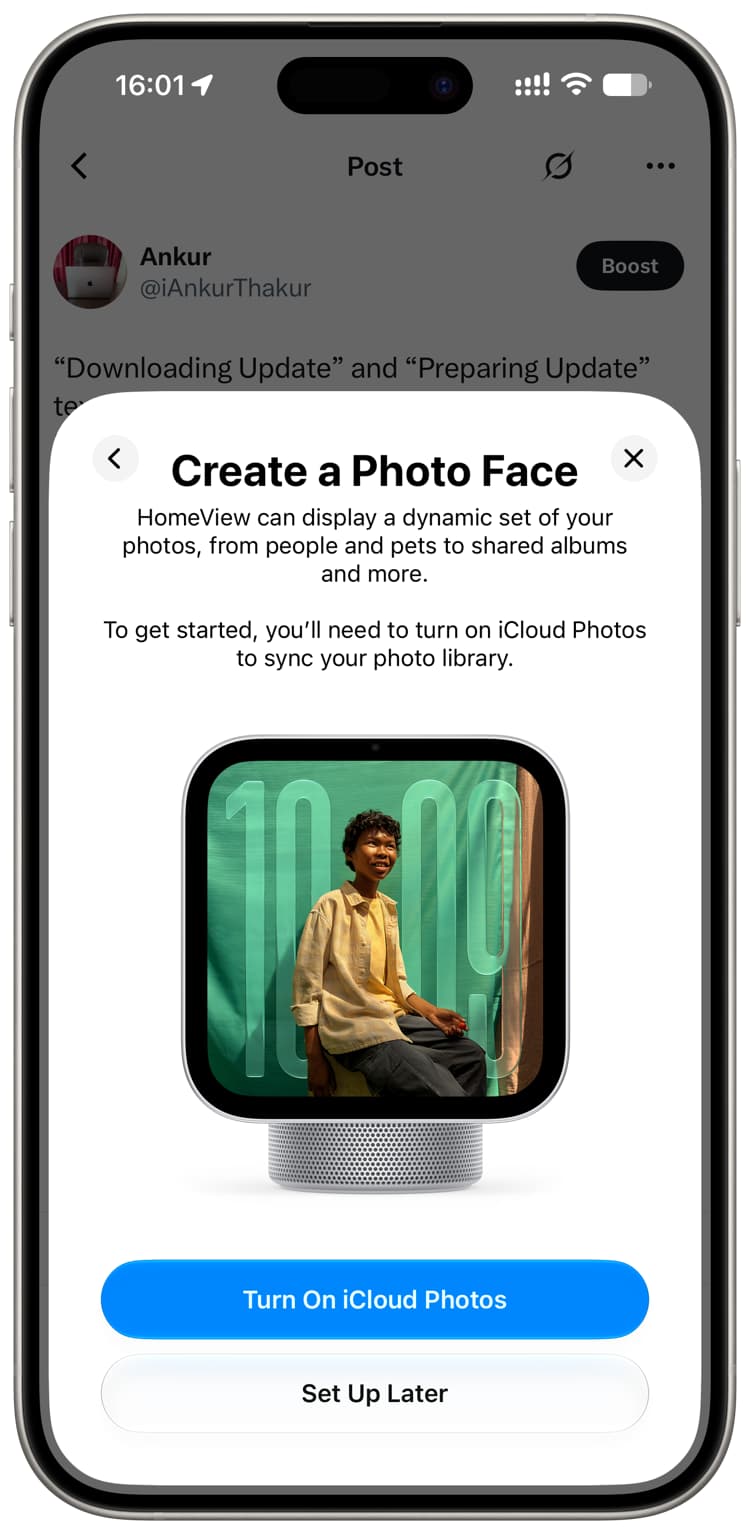
- Choose a home and room from the options in the Home app, then proceed through the legal screens. You can create a photo face now or later; this option requires iCloud Photos.
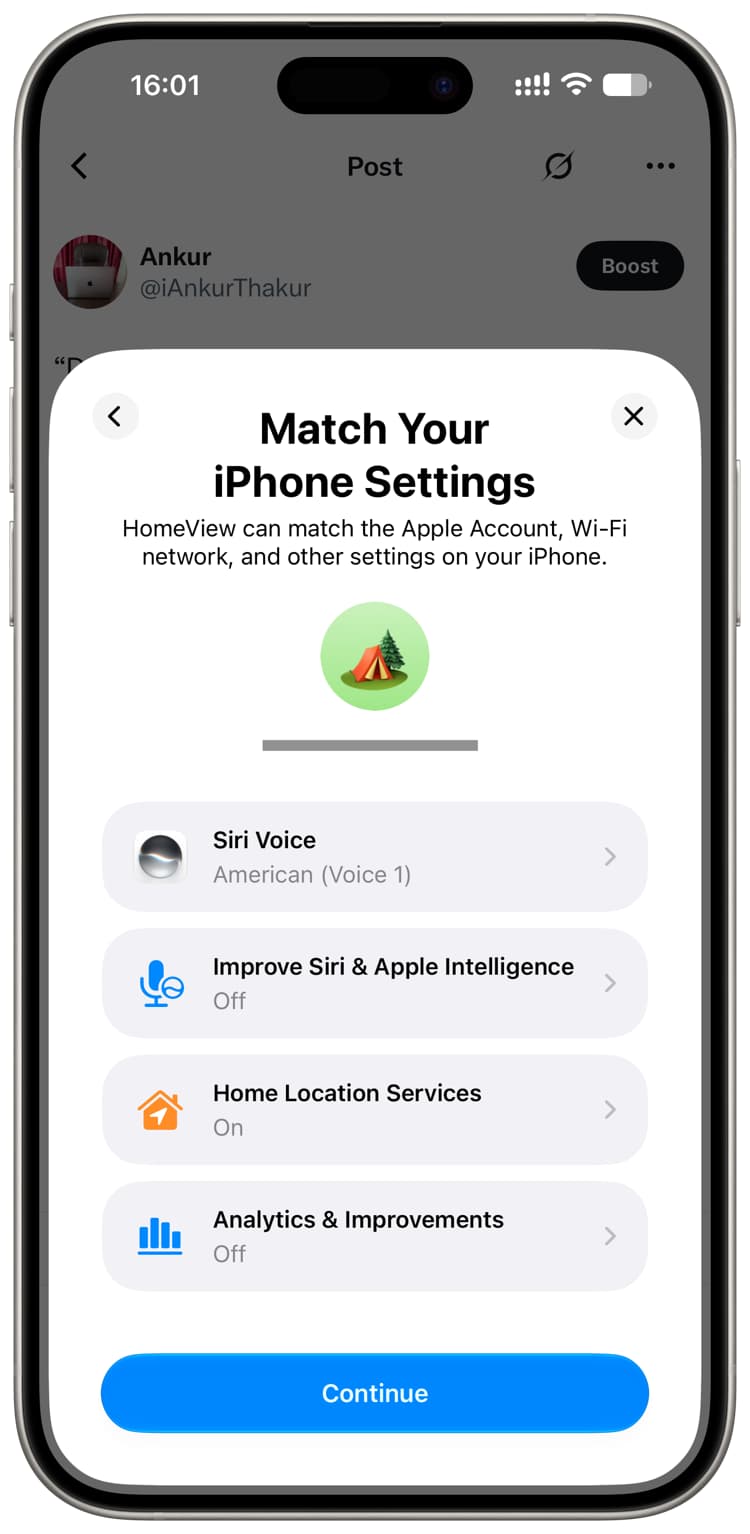
- Choose whether to match your iPhone or iPad settings for Siri voice, location and analytics, or customize them for HomeView. Then decide whether to enable Personal Content, which can display items such as Messages, Reminders and Calendar events.
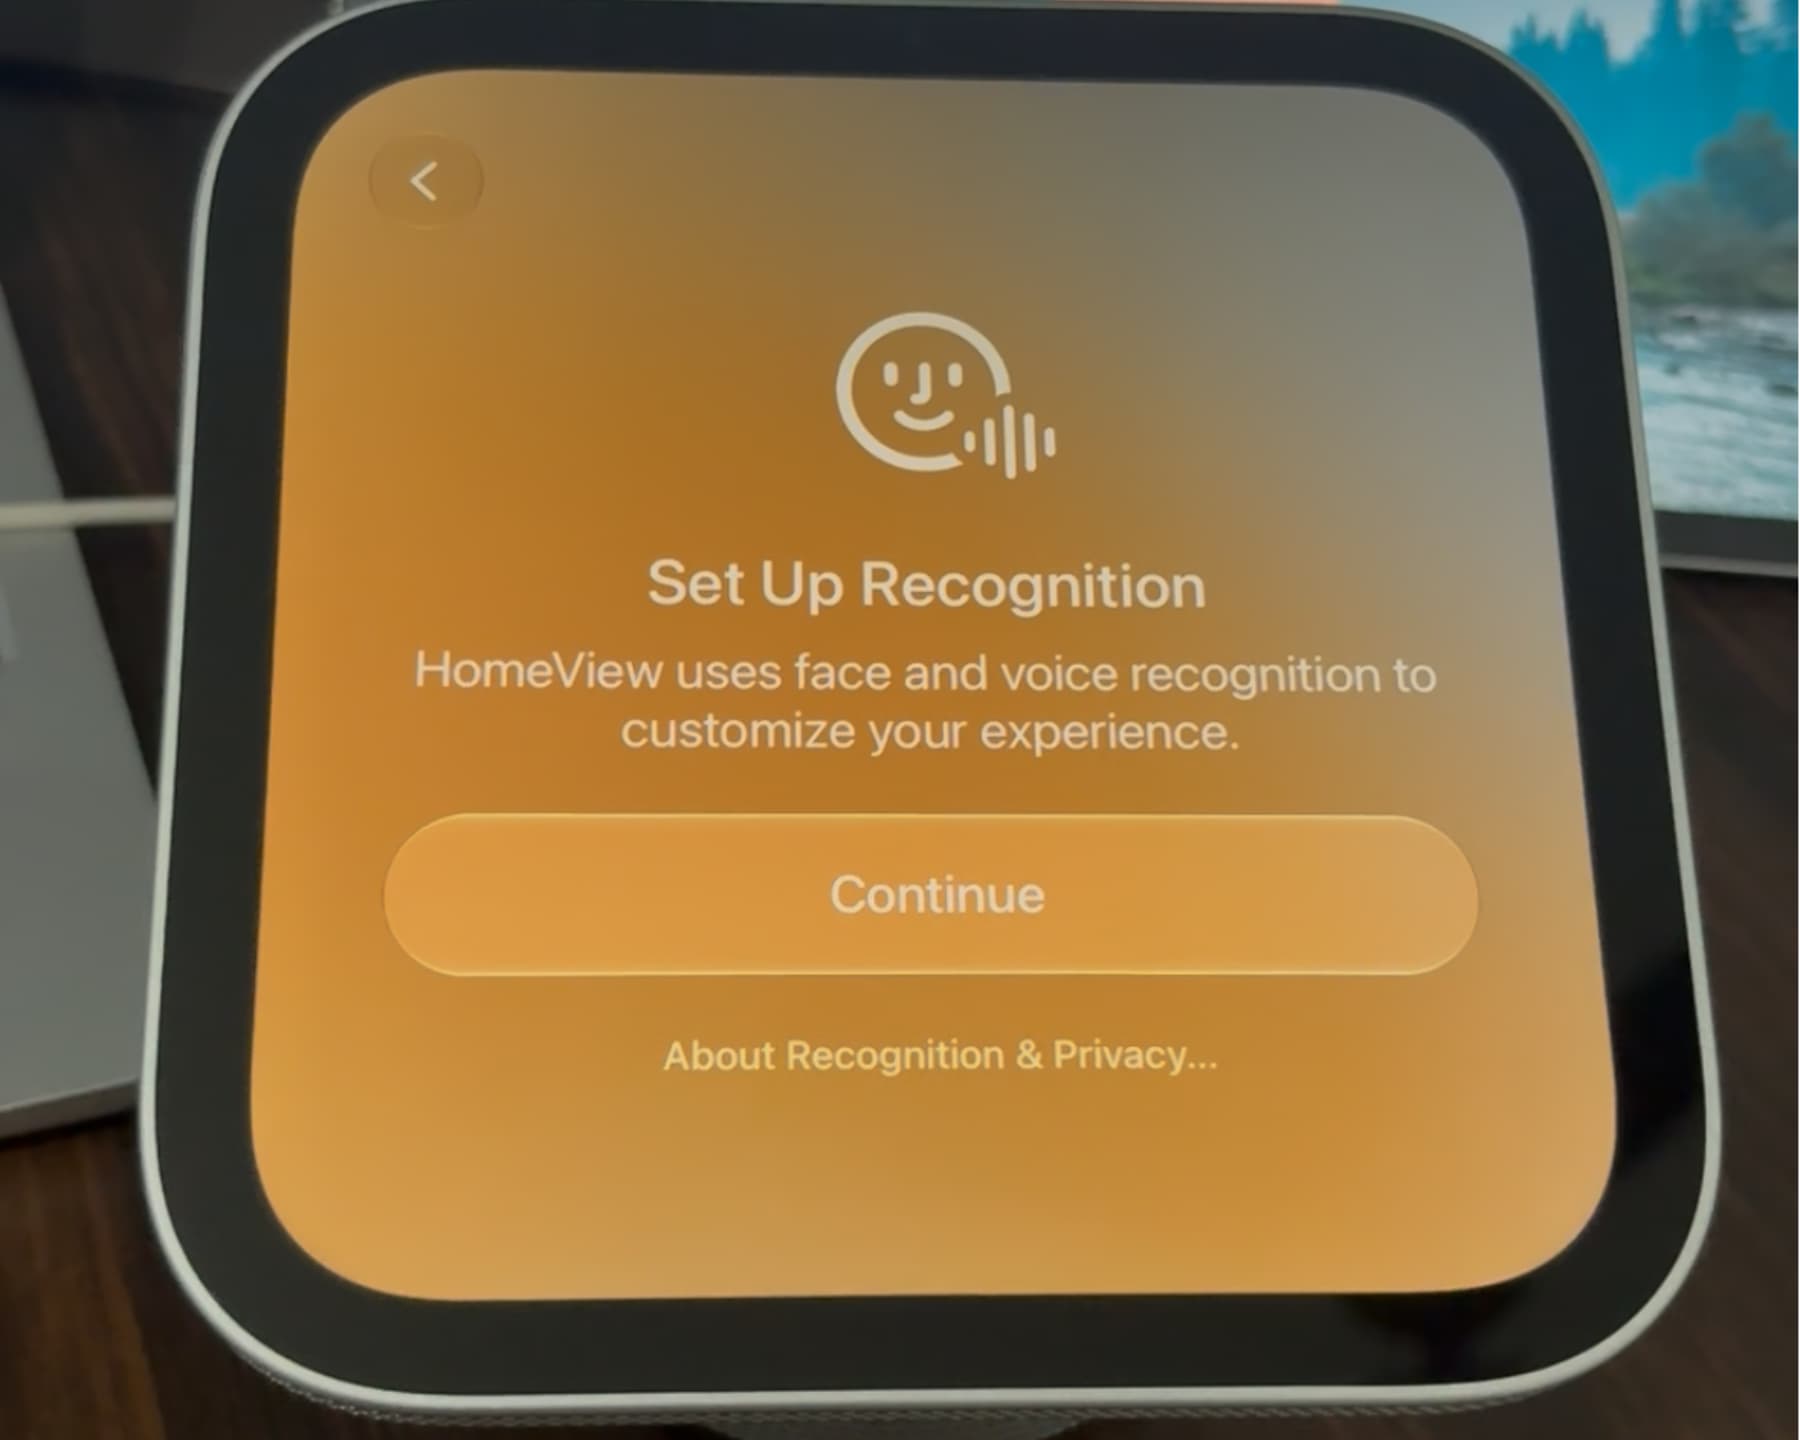
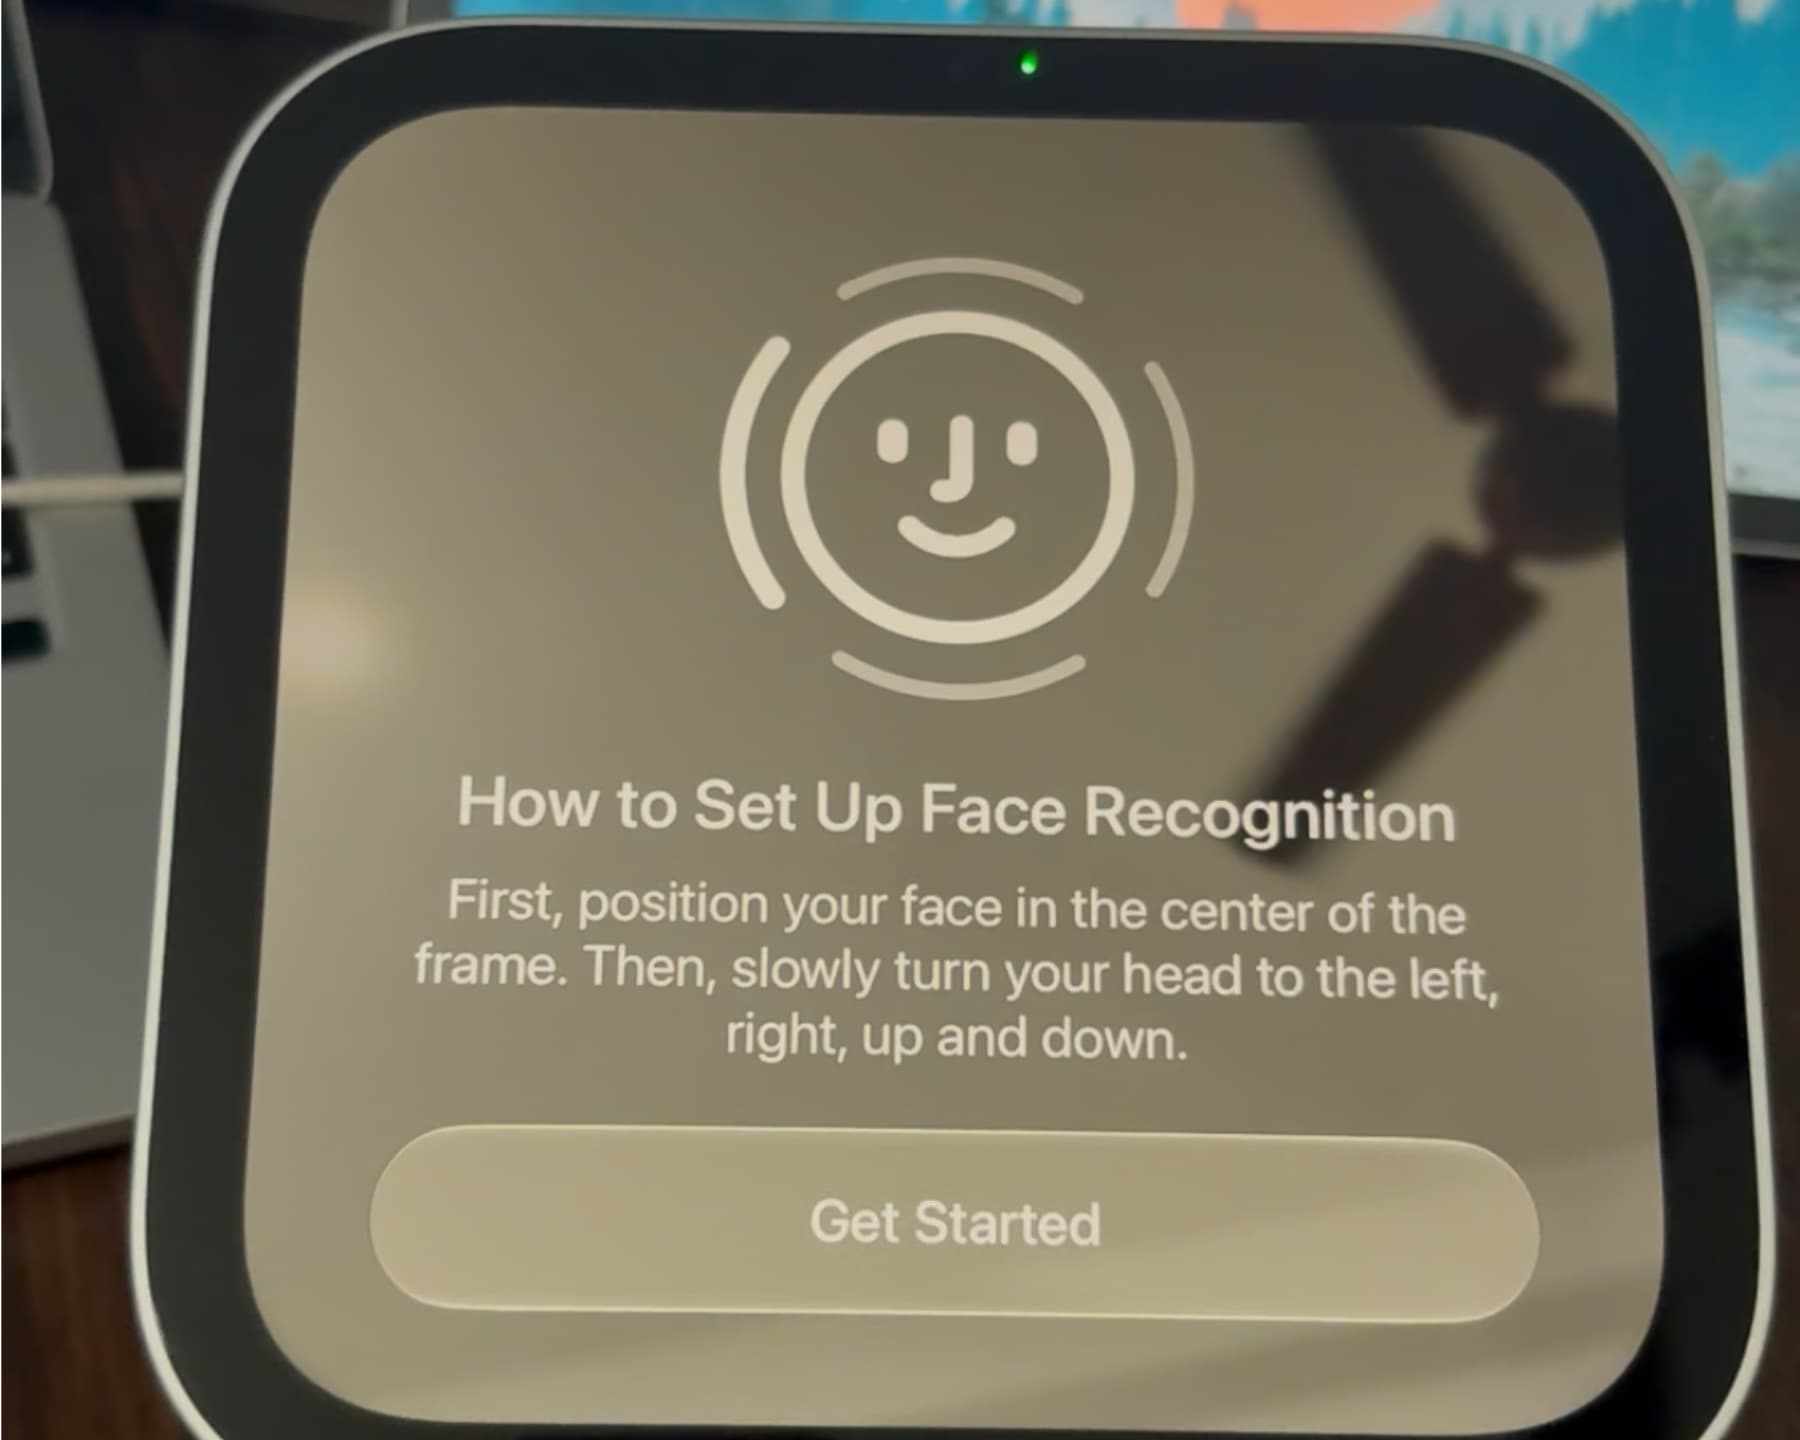
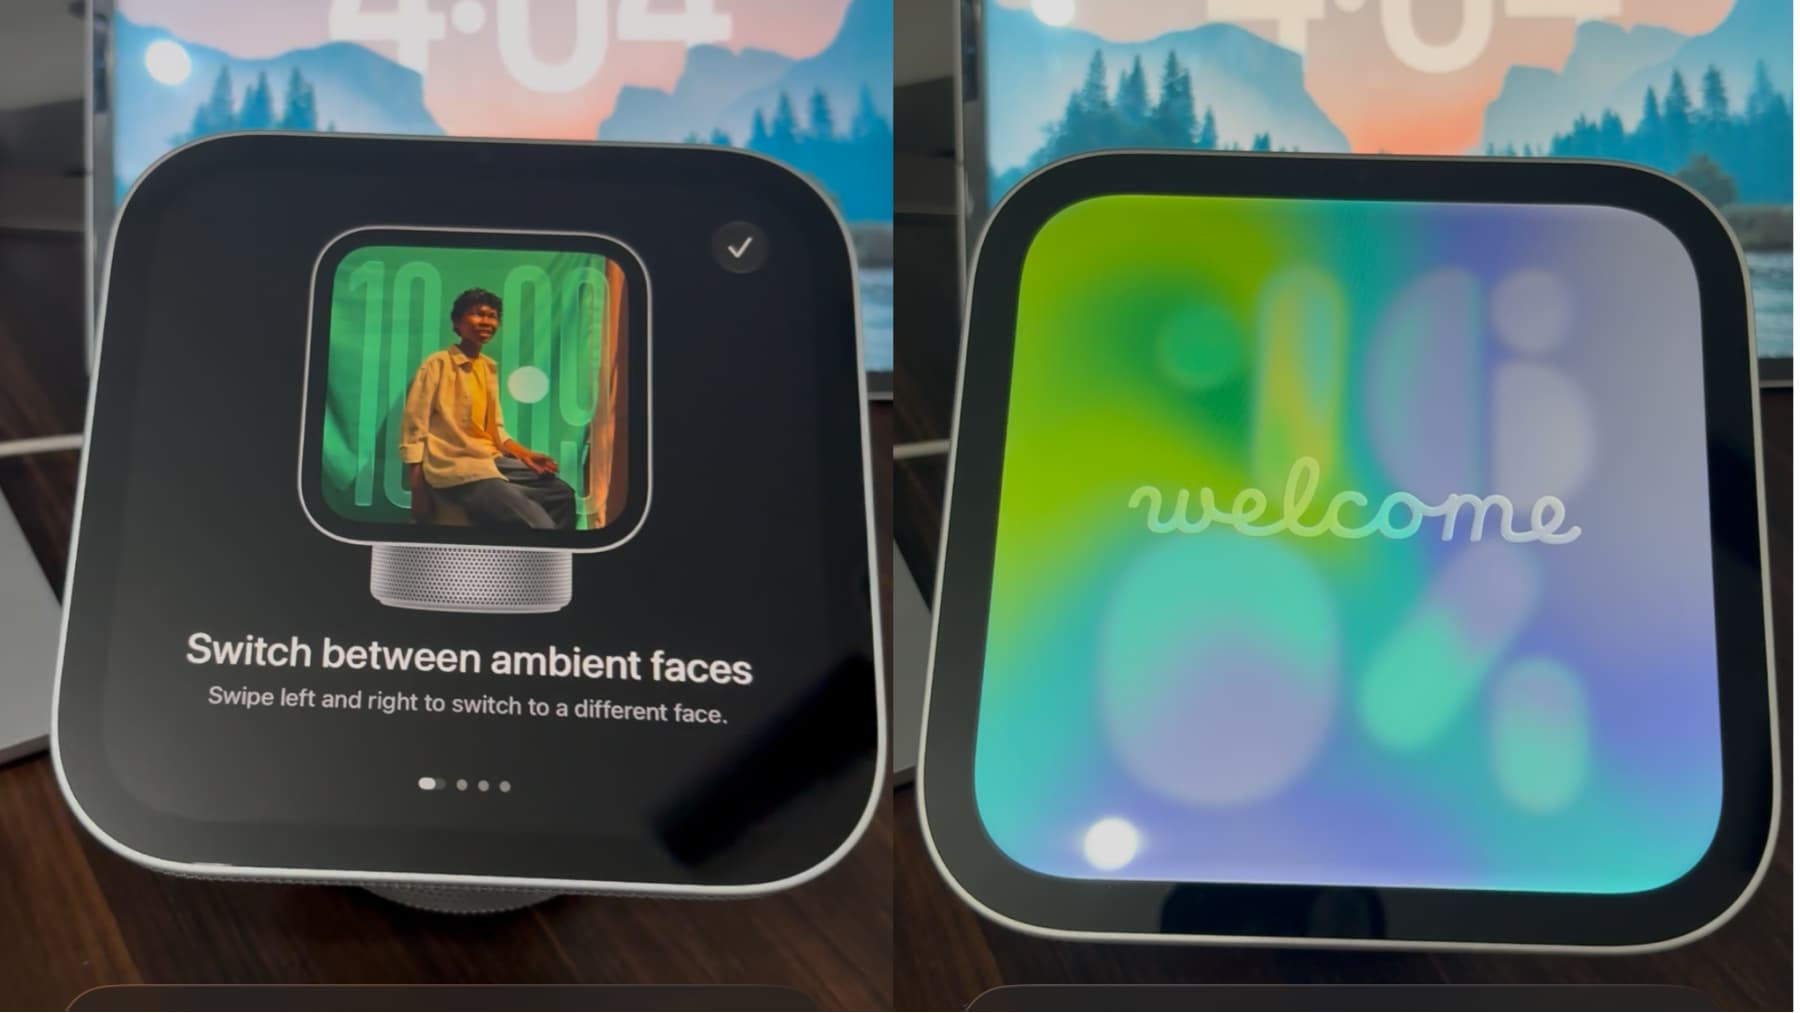
- Once activation and account setup finish, follow the prompts on HomeView to set up voice and face recognition. Say the displayed Siri phrases, then position and turn your face as directed until the four on-screen arcs turn green. Review the basic controls and tap the checkmark to finish.
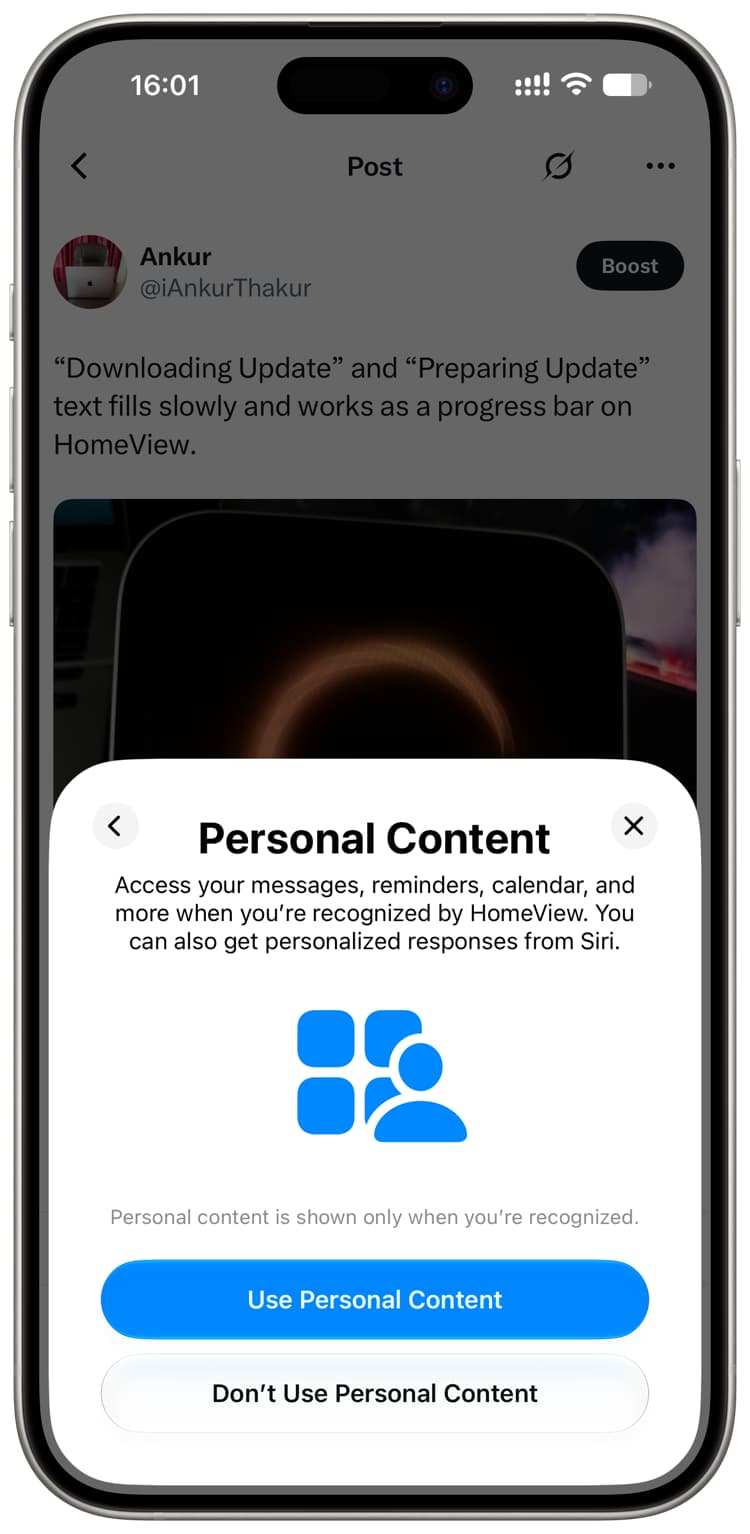
Consider the Personal Content setting carefully. The guide says HomeView uses its front camera and a nearby device to recognize a user before showing personal information. In the author’s test, however, another person could see the author’s Messages for about two to three seconds before the app was blocked. That is a reported observation from one test, not a measured security finding across devices.